
Cloudflare CDN Setup - Client Side
Overview
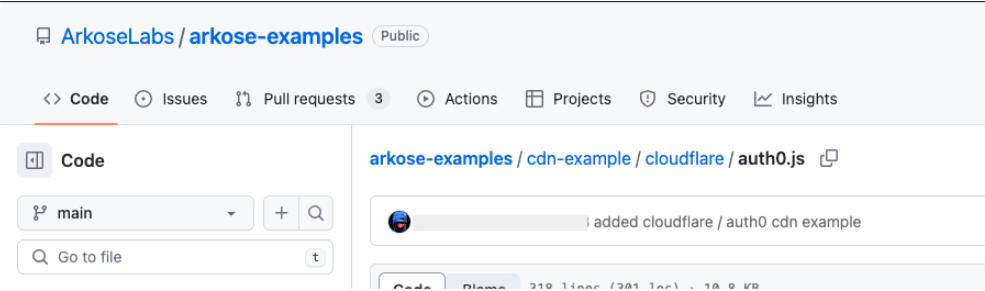
The purpose of the Cloudflare CDN Worker client side implementation is to inject the Arkose client side scripts into the HTML on a page such as Login or Registration. There are 2 versions available on the Github page, one for a Button trigger and the other for a Form Submission trigger. Both versions will store a Cookie containing the Arkose Token which can then be verified using a second worker.
Cloudflare Setup
Step 1. Creating a Worker
-
Log in to your Cloudflare account.
-
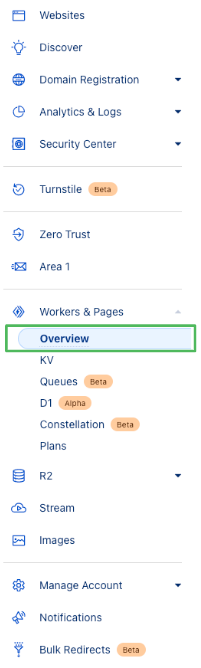
Navigate to the Workers & Pages section in the side navigation panel and select Overview.
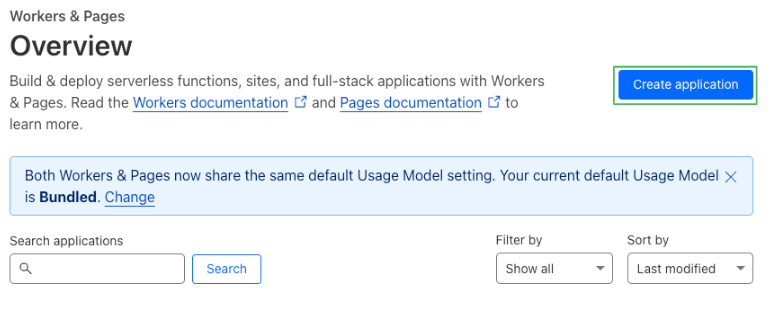
- After the page loads, click on the Create Application button.
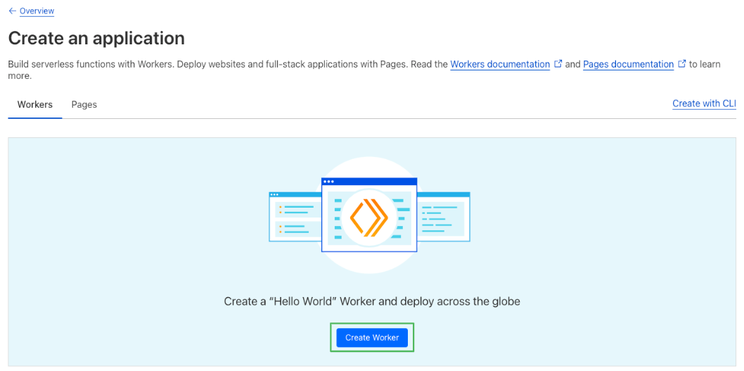
- Select the Workers tab and click on Create Worker.
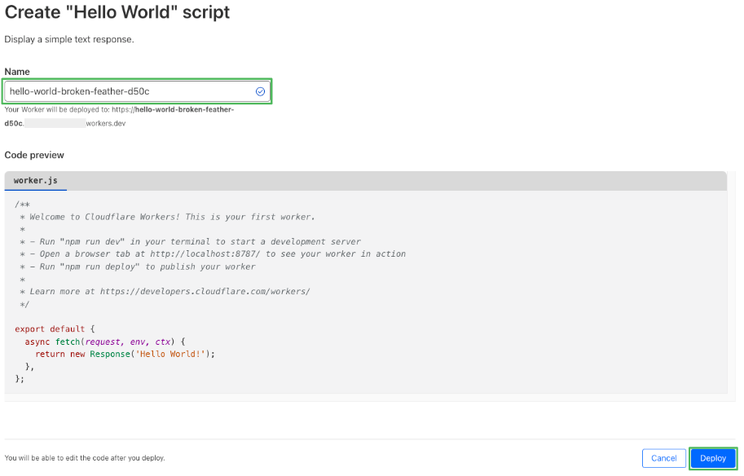
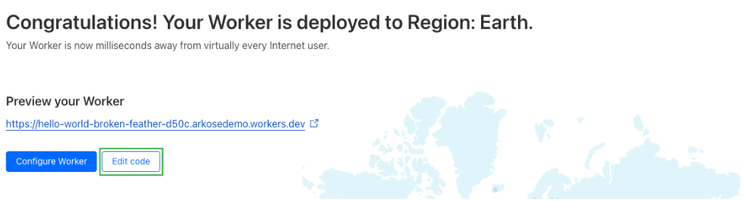
- Provide a name for the worker, then select Deploy.
- The Worker has been created, the next step is editing workers code.
Step 2. Edit Worker Code
- After deploying the Worker, click on Edit Code.
- Delete the sample code from the
worker.jsfile.
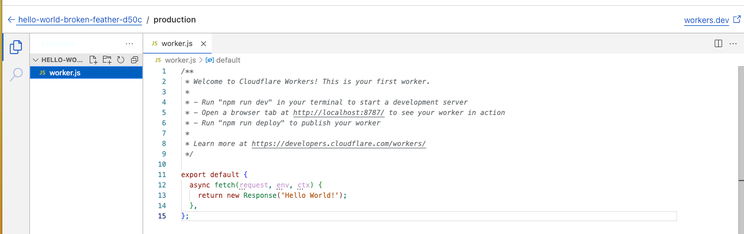
- Open button-takeover or form-submit-takeover depending if using a Button trigger or a Form trigger. Copy and paste the code into the
worker.jsfile.
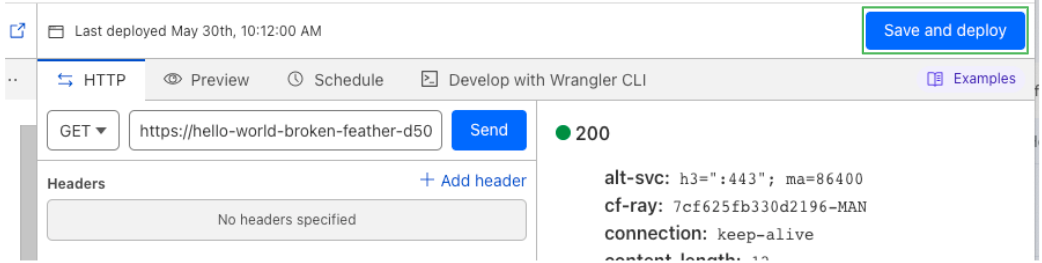
- Click on Save and deploy
Step 3. Adding Variables to the Worker
- Navigate to the Workers summary and select the Settings tab.
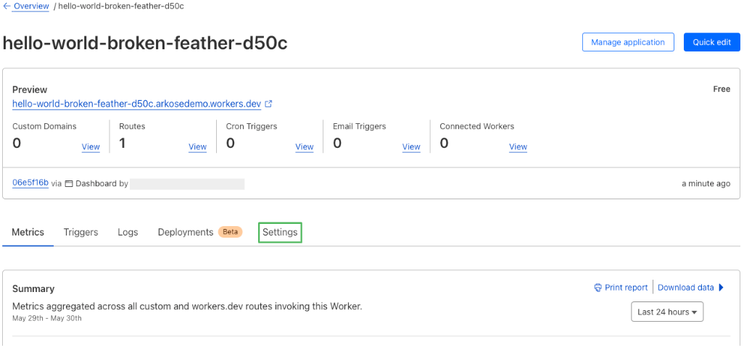
-
Select the Variables menu item from the side navigation panel.
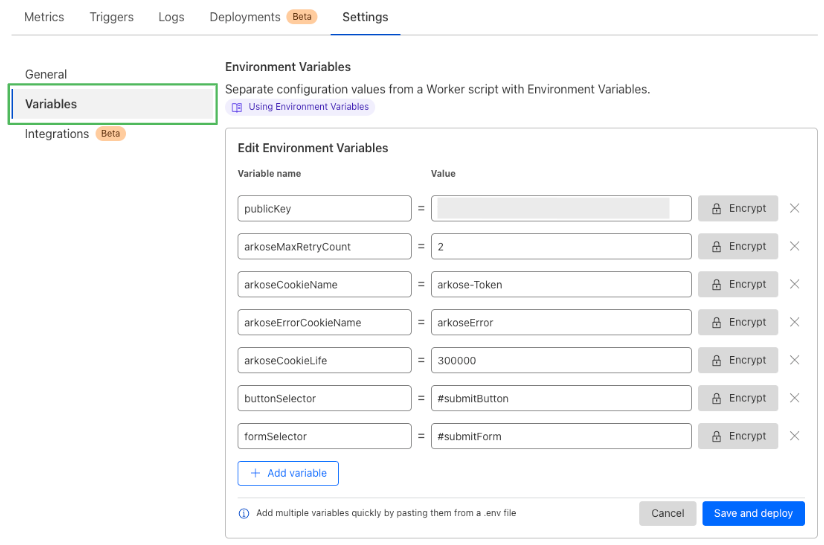
-
Add the following parameters as Worker Variables.
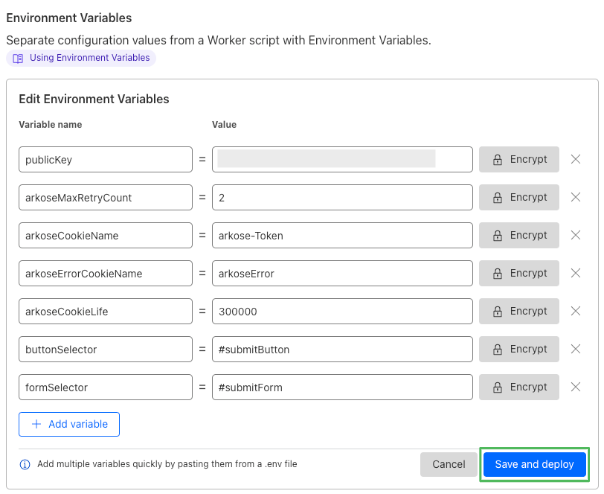
Variable Description Sample publicKeyArkose labs public key obtained through https://portal.arkoselabs.com XXXXXXXX-XXXX-XXXX-XXXX-XXXXXXXXXXXX arkoseMaxRetryCountThe number of retries to perform when there is an error 2 arkoseCookieNameThe name of the cookie that the Arkose token will be stored in arkose-Token arkoseErrorCookieNameThe name of the cookie that an Arkose error will be stored in arkoseError arkoseCookieLifeThe length of time the Arkose cookies should be active for (in milliseconds) 300000 (5 minutes) buttonSelector(optional)The querySelector string used for selecting the required button # submitButton formSelector(optional)The querySelector string used for selecting the required form to protect # submitForm -
Click Save and deploy.
Step 4. Adding Triggers to the Worker
- Navigate to the Worker page and select the Triggers tab.
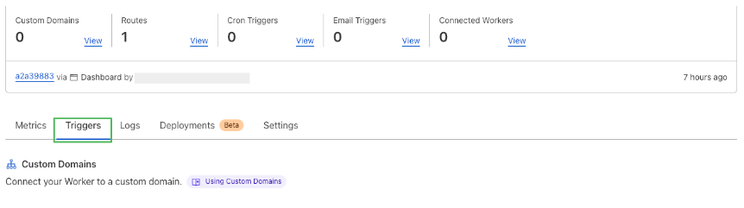
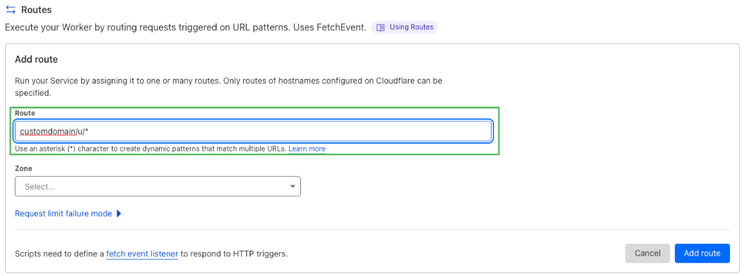
- Click on Add route.

- Enter the route name (no https is needed). This is the URL of the page containing the Login or Registration form.
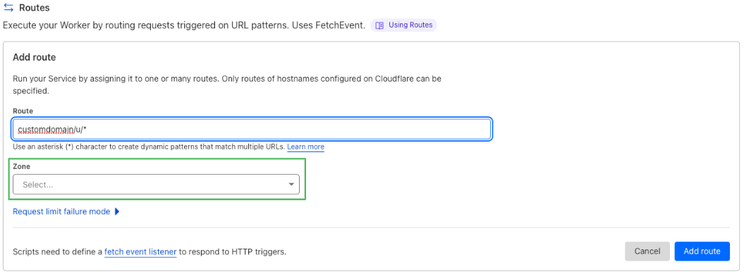
- Select the domain Zone from the dropdown menu.
- Click on Add route.
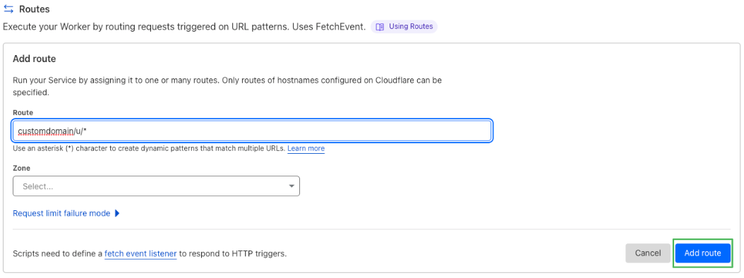
- Once the route is added, the setup has been completed.
Updated 9 months ago