
Cloudflare CDN Setup - Server Side
Overview
The purpose of the Cloudflare CDN Worker server side implementation is to execute on each request (such as Login or Registration) and ensure the Arkose Token is valid before allowing that request to be fulfilled. The Token can be provided either in the request as either a header or stored as a Cookie depending on the client side configuration.
Cloudflare Setup
Step 1. Creating a Worker
- Log in to your Cloudflare account.
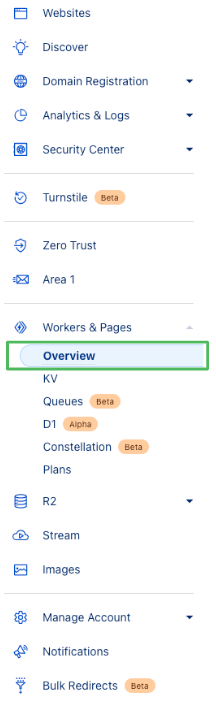
- Navigate to the Workers & Pages section in the side navigation panel and select Overview.
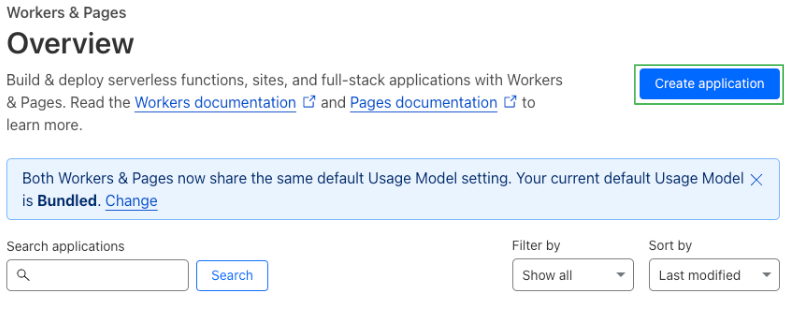
- After the page loads, click Create an Application button.
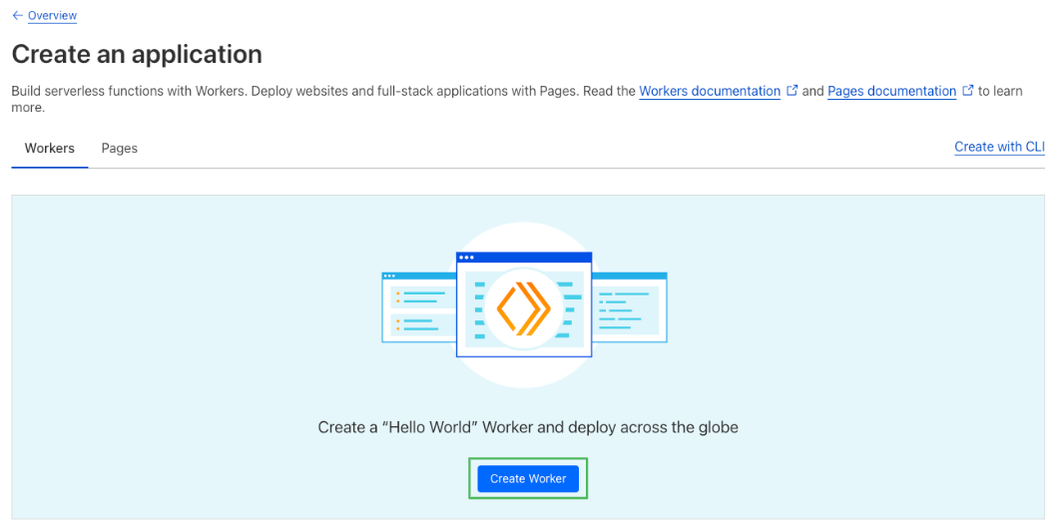
- Make sure you are on the Workers tab and select Create Worker.
- Provide a name for the worker, then select Deploy.
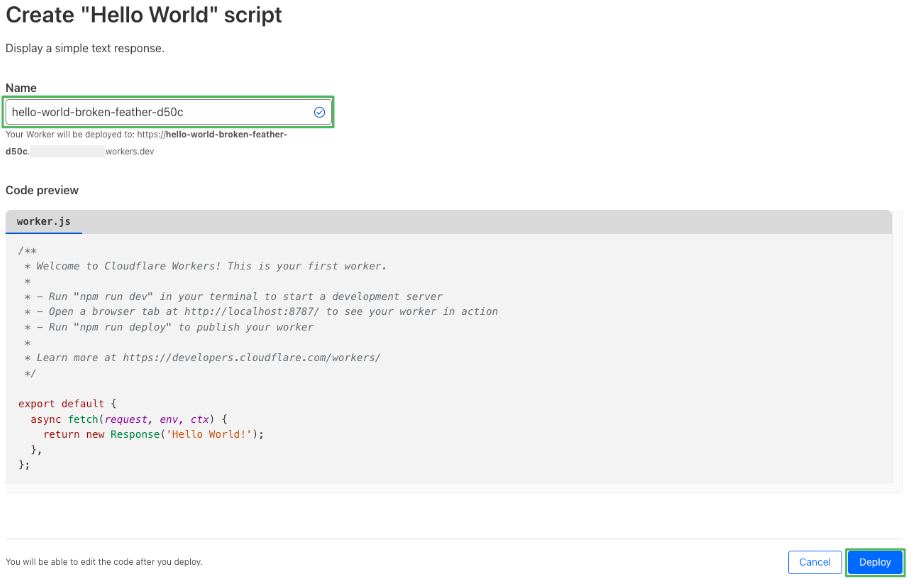
- The Worker has been created, the next step is editing workers code.
Step 2. Adding Arkose Labs Code to the Worker
- Once the worker has been created, click on Edit Code.
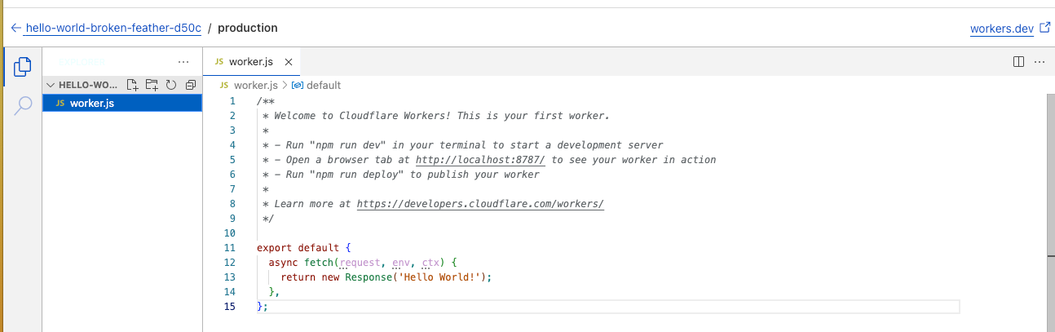
- Delete the sample code from the
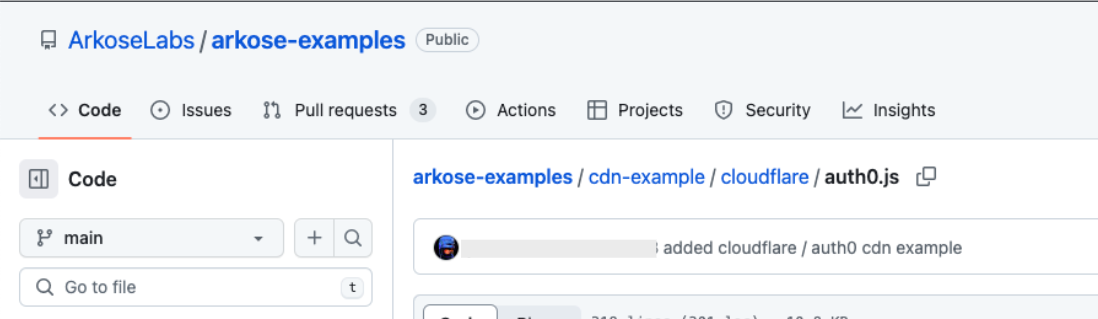
worker.jsfile. - Open arkose-examples/cdn-examples/server/cloudflare-worker at main · ArkoseLabs/arkose-examples and copy and paste the code into the
worker.jsfile.
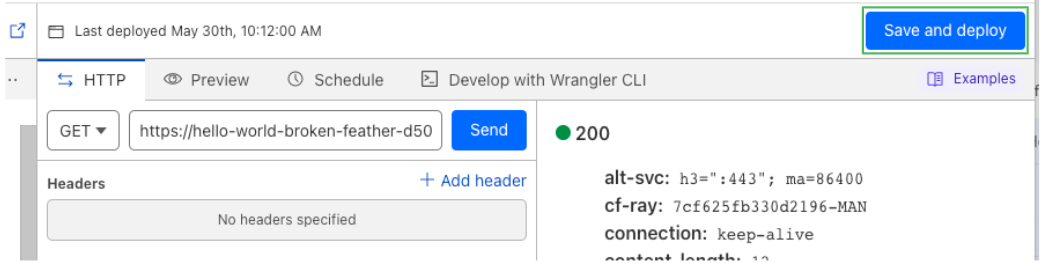
- Click on Save and deploy.
- This example code includes a function called
handleFailure, which will perform a redirect if the Arkose token fails to verify or if there is an error. If an implementation requires a different action to be performed in the event of an error or fail to verify, this function can be easily updated to perform the required action.- The example also allows for an arkose-token to be submitted via a header or a cookie, if an alternative method is required, the
getArkoseTokenfunction can be updated to use an alternative method.
Step 3. Adding Variables to the Worker
- Navigate to the Workers summary and select the Settings tab.
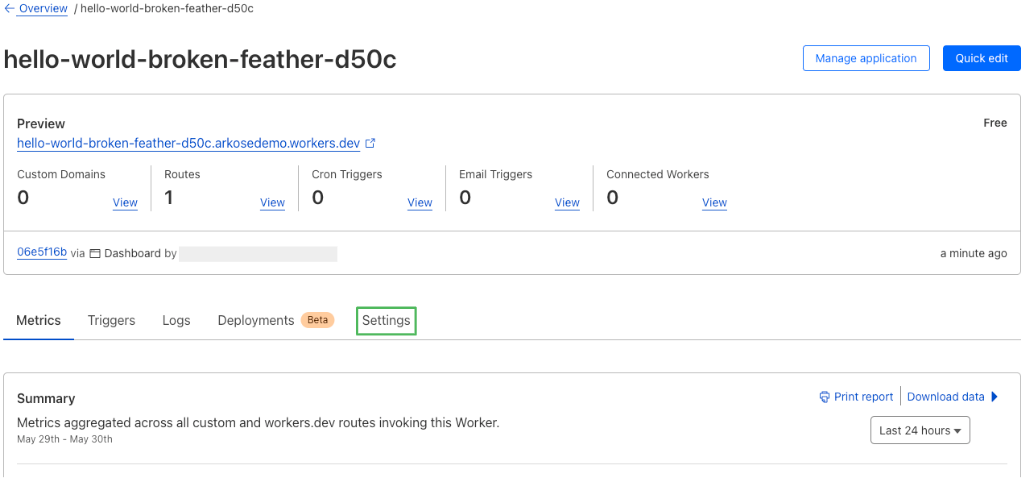
- Select the Variables menu item from the side navigation panel.
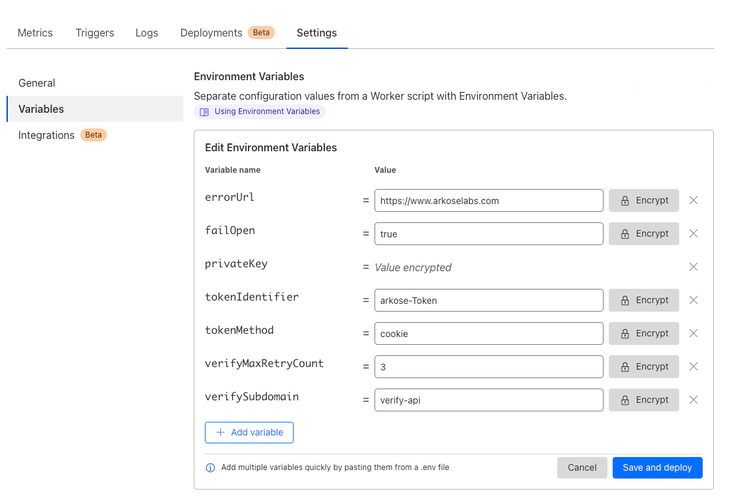
- Add the following parameters as Worker Variables.
| Variable | Description | Sample |
|---|---|---|
privateKey | Arkose labs private key obtained through | XXXXXXXX-XXXX-XXXX-XXXX-XXXXXXXXXXXX |
verifySubdomain | A customer specific subdomain to use for the verify call. For example companyname-api | <companyname>-api |
errorUrl | A page to route the user to when an error occurs (outside of fail open) | https://www.arkoselabs.com |
tokenIdentifier | The property name for the header / cookie that contains the Arkose Labs token | arkose-Token |
tokenMethod | The storage method of the Arkose Labs token, by default this is header but this can be either header or cookie | cookie |
verifyMaxRetryCount | A numeric string to represent the number of times we should retry Arkose Labs verification if there is an issue. | 3 |
failOpen | A boolean string to indicate if the current session should fail open if there is a problem with the Arkose Labs platform. | true |
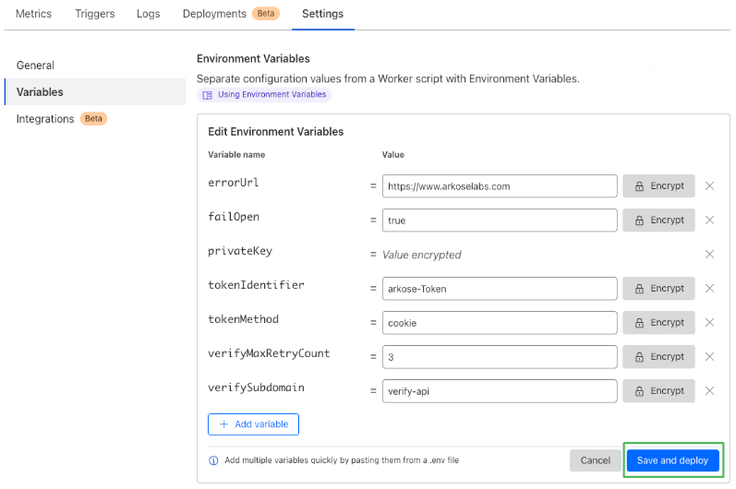
- Make the
privateKeyencrypted by selecting the Encrypt button.

- Click Save and Deploy.
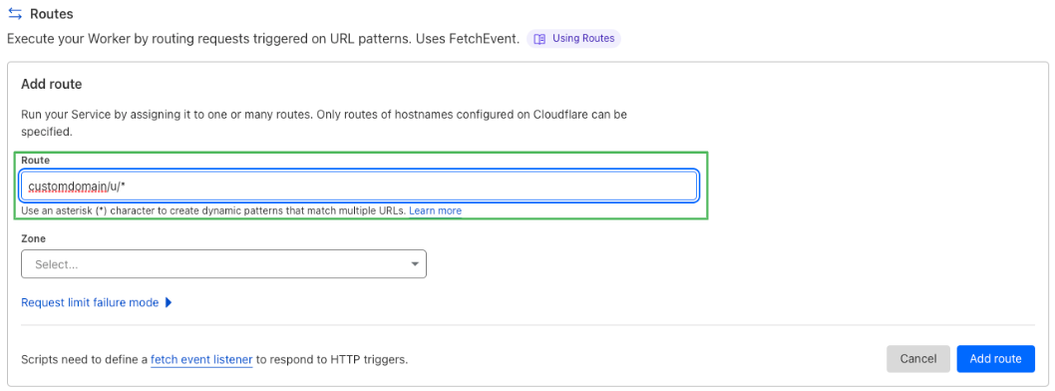
Step 4. Adding Triggers to the Worker
- Navigate to the Worker page and select the Triggers tab.

- Click on Add route.

- Enter the route name (no https is needed). This url is typically the one that the POST call is sent to during a Login or Registration event.
- Select the domain Zone from the dropdown menu.
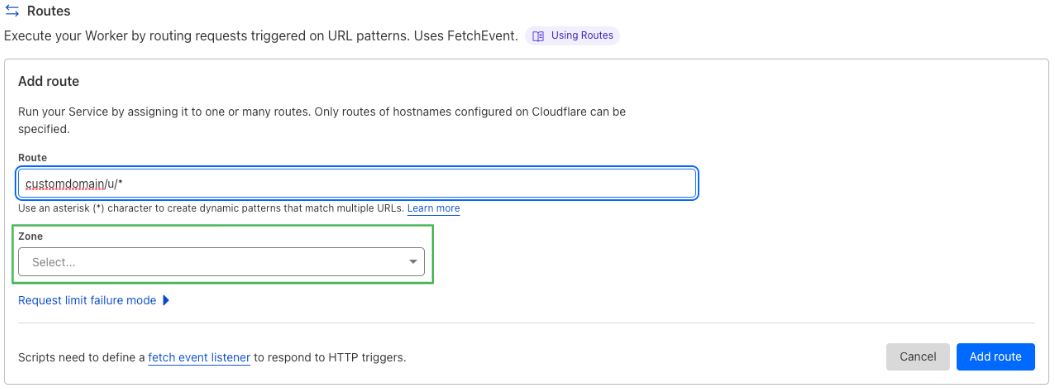
- Click on Add route.

- Once the route is added, the setup has been completed.
Updated 7 days ago